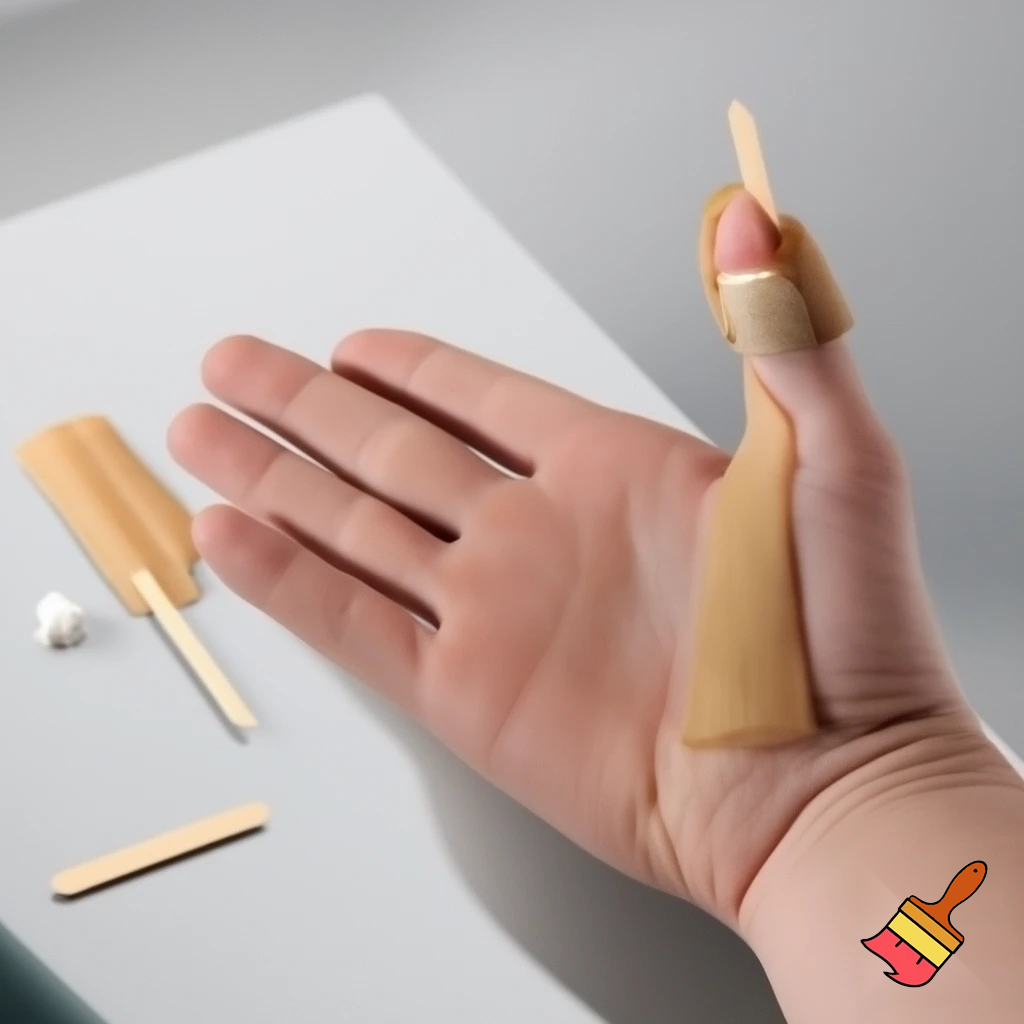
Create a clear step-by-step instructional medical video showing how to immobilize a fractured thumb using a crepe bandage and an ice-cream stick at home. The video should have a clean table, proper lighting, and a close-up view of the hand. Scene 1: Introduction Show a hand with mild swelling at the thumb. Display text: “Thumb Immobilization with Crepe Bandage – Home Method.” Scene 2: Materials Show crepe bandage (6–8 cm), 1–2 ice-cream sticks, micropore tape, small cotton piece. Scene 3: Thumb Position Show the thumb kept in a slightly bent functional position, wrist neutral. Text: “Keep the thumb slightly bent.” Scene 4: Start Bandaging Wrap the crepe bandage around the wrist 2–3 times to create a base. Close-up camera angle. Scene 5: Place Ice-Cream Stick Option A: Place the ice-cream stick along the side of the thumb. Option B: Place the stick under the thumb. Add cotton under the stick for comfort. Show it visually. Scene 6: Fix with Tape Use micropore tape to lightly fix the stick so it does not move. Scene 7: Figure-8 Bandaging Demonstrate wrist → thumb → wrist → thumb looping in a figure-8 pattern 6–8 times. Text: “Repeat 6–8 times.” Scene 8: Locking the End Secure the final layer around the wrist with a clip. Scene 9: Final Check Show stabilized thumb, no movement, good support. Text: “Do not make it too tight. Check for numbness or color change.” Scene 10: Outro Show final immobilized thumb. Text: “Use for 2–3 weeks. Consult a doctor if pain increases.”
Prompt
Create a clear step-by-step instructional medical video showing how to immobilize a fractured thumb using a crepe bandage and an ice-cream stick at home. The video should have a clean table, proper lighting, and a close-up view of the hand. Scene 1: Introduction Show a hand with mild swelling at the thumb. Display text: “Thumb Immobilization with Crepe Bandage – Home Method.” Scene 2: Materials Show crepe bandage (6–8 cm), 1–2 ice-cream sticks, micropore tape, small cotton piece. Scene 3: Thumb Position Show the thumb kept in a slightly bent functional position, wrist neutral. Text: “Keep the thumb slightly bent.” Scene 4: Start Bandaging Wrap the crepe bandage around the wrist 2–3 times to create a base. Close-up camera angle. Scene 5: Place Ice-Cream Stick Option A: Place the ice-cream stick along the side of the thumb. Option B: Place the stick under the thumb. Add cotton under the stick for comfort. Show it visually. Scene 6: Fix with Tape Use micropore tape to lightly fix the stick so it does not move. Scene 7: Figure-8 Bandaging Demonstrate wrist → thumb → wrist → thumb looping in a figure-8 pattern 6–8 times. Text: “Repeat 6–8 times.” Scene 8: Locking the End Secure the final layer around the wrist with a clip. Scene 9: Final Check Show stabilized thumb, no movement, good support. Text: “Do not make it too tight. Check for numbness or color change.” Scene 10: Outro Show final immobilized thumb. Text: “Use for 2–3 weeks. Consult a doctor if pain increases.”
Negative prompt
Use negative words like “blue” to get less blue color
Details
Image Size
256x256
Resolution
Base
Model
Art
Aspect Ratio
1:1 - landscape